

This is an easy project that I whipped up in just a few minutes. The key is to have your iron out and ready throughout the whole process...

You need:
~Fabric
~Thread
~A sewing machine
~Scissors
~A tape measure
~An Iron
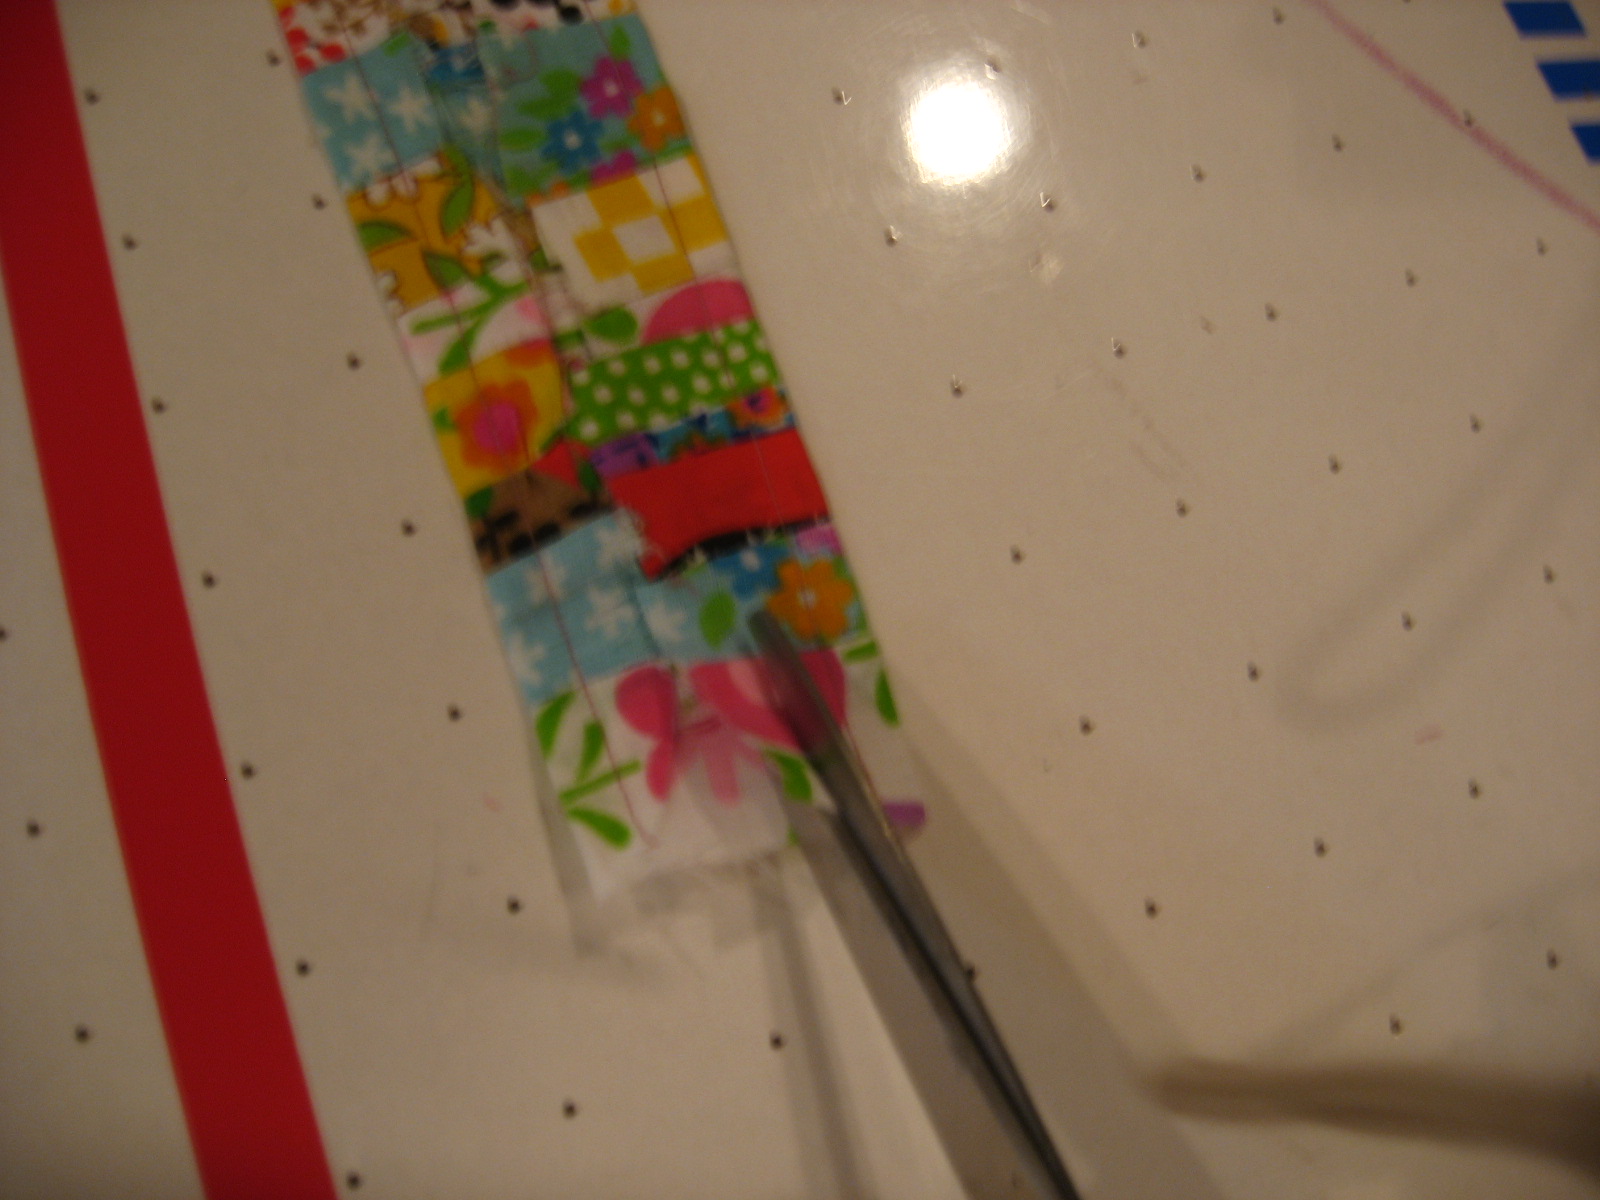
Step #1: Cut your fabric into small strips, 4 inches by random measurements. None should have a bigger width than about 1 1/2 inches. Make some thin and some thick. You can use all different fabrics or you can use a few of the same ones in a pattern.


~Have a great day! Hope you liked this tutorial!~
~Fabric
~Thread
~A sewing machine
~Scissors
~A tape measure
~An Iron
Step #1: Cut your fabric into small strips, 4 inches by random measurements. None should have a bigger width than about 1 1/2 inches. Make some thin and some thick. You can use all different fabrics or you can use a few of the same ones in a pattern.

Step #2: With right sides together, sew 2 strips together.


Step #3: Press the seam open with your iron.

Turn the piece so that the right side is up and iron again, making sure the piece is flat.
Step #4: Repeat steps 2 & 3, adding more and more strips to the piece. Stop when you can wrap the piece around your wrist with a bunch of extra room.

Step #5: Return to your iron and make sure the right side of the piece is facing down.
Fold over the edge of the piece, long ways, and make sure that it is folded over 1 inch.
Fold and iron both sides of the piece.
Step #6: Sew the hem on both sides, using a 1/4" seam allowance.

Step #7: Trim the edges of the hems on the wrong side of the piece.
Step #8: Wrap the piece around your wrist and mark where you want the bracelet to connect. Make sure that you can easily put on and remove the bracelet with that sized bracelet.

Step #9: Turn the bracelet inside out and sew along the mark you made. Using your iron, press the seam open.


Step #10: Make sure that the bracelet fits, and you're all done!


~Have a great day! Hope you liked this tutorial!~
This is such a cute idea for using up your cute scraps. My daughter would freak-out if I made her one of these. Thanks for the great idea!
ReplyDeleteI love this idea....I want to do it right now!!!!!!!!! Thanks!
ReplyDelete