- A T-shirt: old or new, it doesn't matter. It can be scraps too; you're not going to use too much.
- A cylindrical object such as a bottle of glue or a jar that is about 1.5" in diameter
-A cylindrical object such as a spool of thread that is about 1" in diameter (*NOTE* this is not shown in the picture to the right)
-Bobby Pins that match your hair color
-A hot glue gun
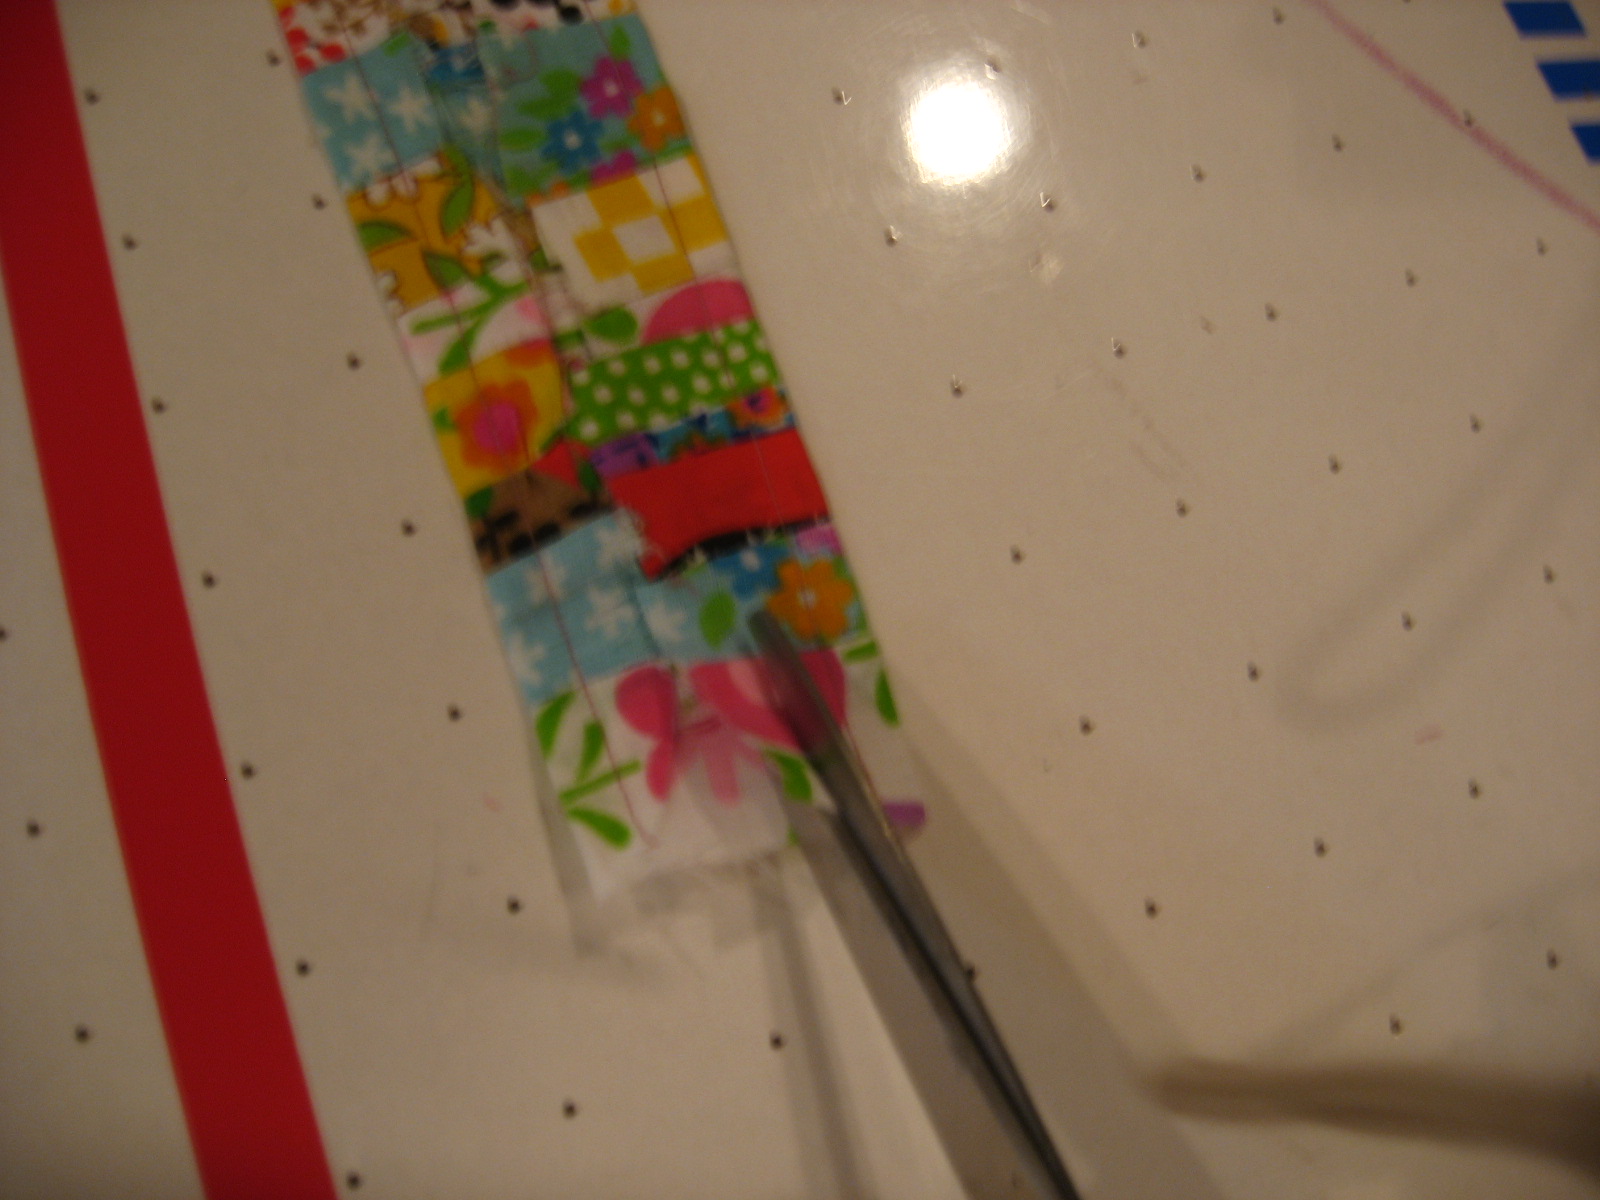
-Scissors
Step #2: Cutting your large circles...
Use your 1.5" in. in diameter cylinder for this step.


Trace the first circle using a pen or pencil.


Cut along the line that you made. These circles do not have to be perfect.

Pin the first circle to a piece of the t-shirt. You can trace if you want but as long as it's pinned, it's not really necessary.

Cut along the edge of the circle.

Make 10-12 of these circles using the same pin-and-cut method. Remember: you can always make more. Put these aside for now and take out your second cylindrical object and more t-shirt fabric.
Step #3: Cutting the smaller circles... (plug in your hot glue gun now)

Do the same with these circles as you did for the others.


Make 2 (total) of these circles.
Step #5: Gluing it all together...

Sandwich one of the circles in a bobby pin.

Apply glue on top of and around the bobby pin so that the fabric is secure.

Once the glue isn't too hot but still squishy, press it down using your finger or something flat.

Spread glue on the top... and place the second circle on top. Make sure you use as much glue as you need to so that it is strong enough to hold the flower.

Place the second circle on top and smooth it out so that there aren't any bumps.

Take out your larger circles....

Take your circles one at a time and pinch them in the middle and fold them until they look something like the picture above.

Begin to glue the pieces, good side up, to the small circles.

Continue until every desired space is filled. If necessary, make more circles to fill empty spots in. It's up to you how full you want your flower to look.


Final Product!


Have a fantastic day!